Monday, February 27, 2012

Bird Seed Cakes

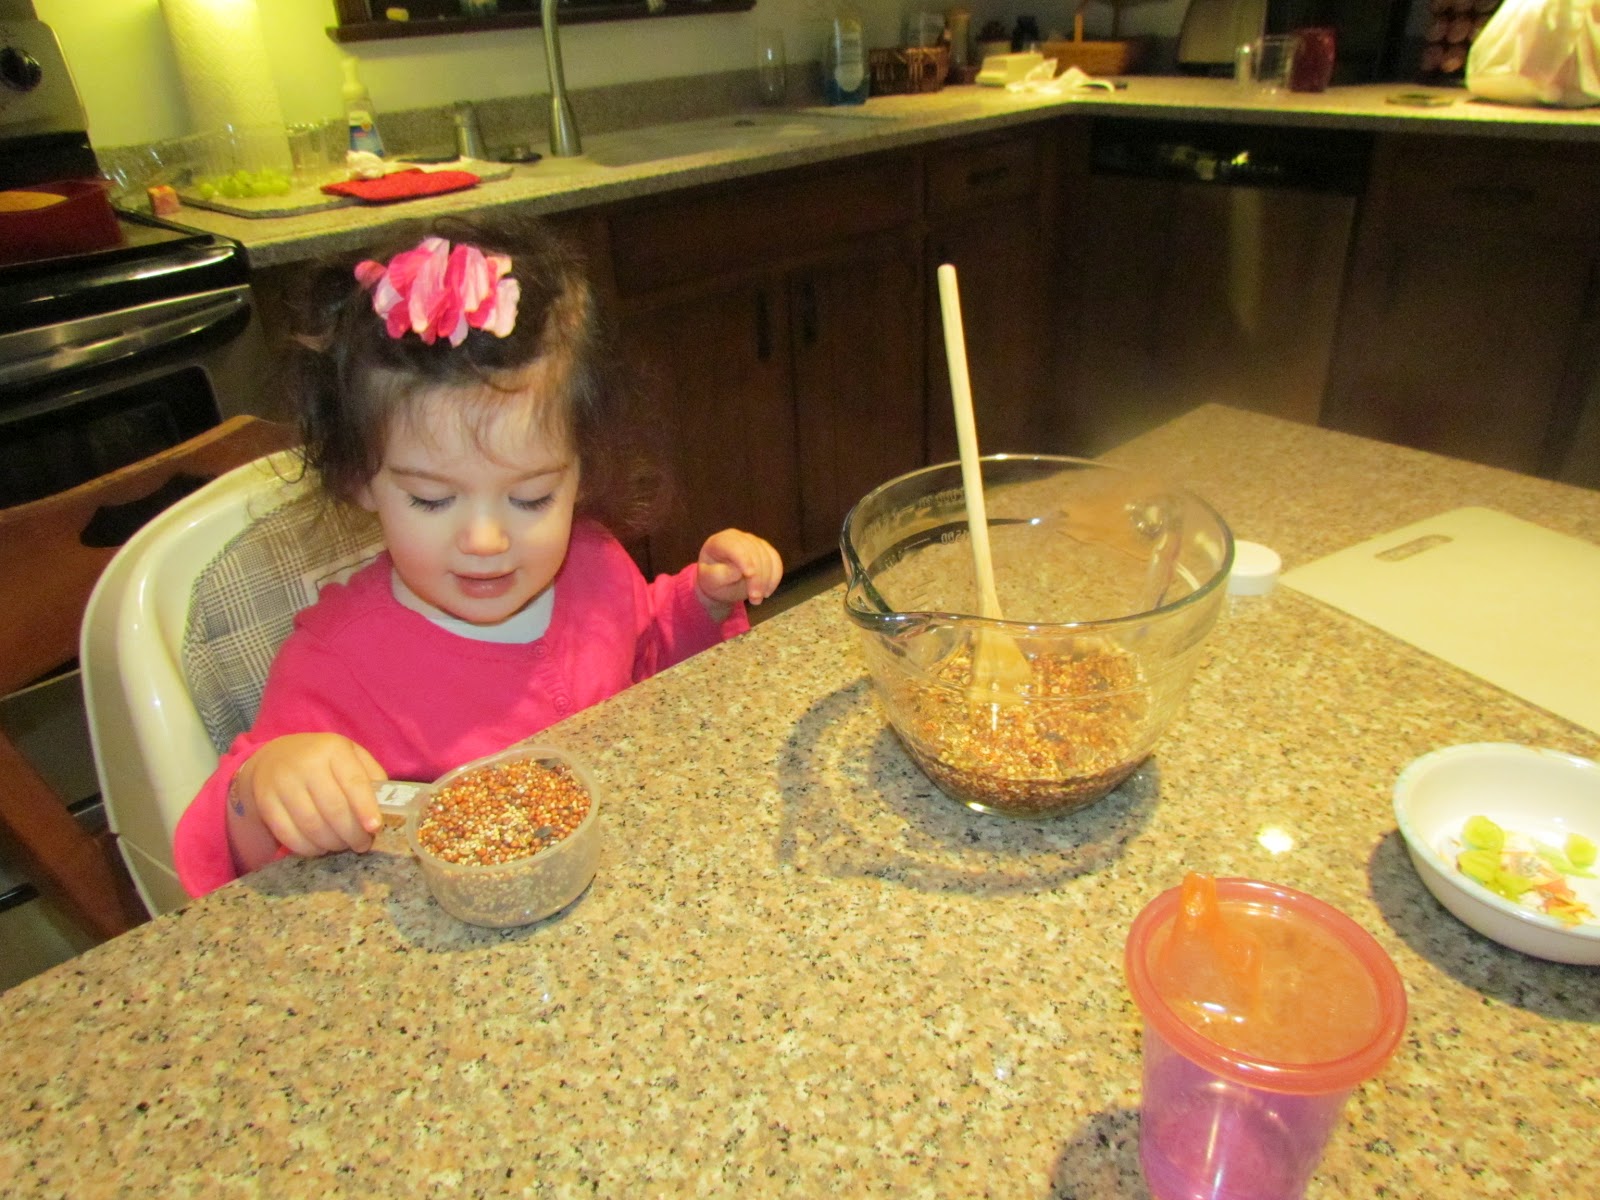
All though we have had a mild winter this year, our feathered friends still have a hard time finding some meals. So I thought it would be fun to make some bird seed cakes for all the little birdies.  I had my adorable granddaughter help me with them. She loves to do "Crafts" with me and I enjoy making them with her.

Here is how you make them: 
You make them with plain gelatin, water and some seeds.  Grown up part : You boil a cup of water and add 1 oz of plain gelatin to the water.  Stir until gelatin is completely dissolved.  Then add 3 cups of regular bird seed to the gelatin water.  Tessa began stirring the seed mixture.  Once it's all mixed you put the seed mix in little molds or caps to use as cake holder.  Then you press some yarn into the cake mold and cover it with more seed. The yarn becomes the loop that you use to hang on to a branch.
Now you wait a few hours for them to set.  Once they set, you just pop them out and hang them outside on a tree or bush and wait for the little birdies to come to eat them.  My cats love to sit at my front window watching the birds fly around and eat.  So it's a treat for the birds and enterrtainment for Daisy and Vera.  :-)


I will have to take a picture once I see some birds eating them.  After the cakes are eatin the birds can use some of the yarn to make a snugly little nest too.

Sunday, January 29, 2012

Little Baby Shower Candles

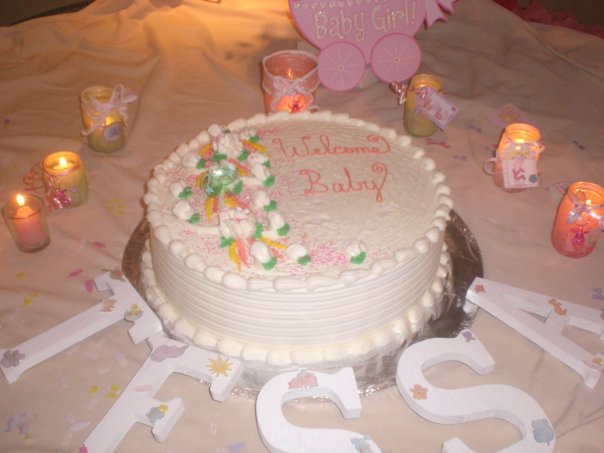
These are pretty little candles I made to put on the tables at my daughter's baby Shower.
One of my teachers at my daycare showed me how to make them (thanks Miss Anna).

They are so simple and just looked adorable on each of the tables.  When the shower was over, the guest took them home as favors.  The candles that were leftover saved were used again on my granddaughters first birthday.

Here's how they were made.   Supplies needed - mason jars, baby food jars or even jelly jars.  Tissue paper, different types of ribbon, stickers or baby tags / cut outs. paintbrush & Glue mix (2 parts white glue and 1 part water...mix well).

Directions: Cut up tissue paper into small pieces.  With a paint brush, paint the entire jar with the glue mix. Next, lay the pieces of tissue onto the jar.  Let dry. It may take a few hours.  Next, add a few baby stickers if you choose.  Now you are going to paint over the entire jar with the glue mix again.  Let dry.  Next, add pretty ribbons to the top of each jar. I added a few plastic Binky's that I picked up at the dollars store.  I loved how they turned out.  


This project is a perfect way to recycled jars and tissue paper .


Monday, January 23, 2012

Conversation Heart Hand Soaps

This is a repost from My Queen Diva Blog.   I feel it belongs here on my "Family, Food and Fun Blog."   I made these at Christmas time to use as guest soap.  I cut the felt out using  Christmas cookie cutters.

I decided to try to make Valentine hand soaps in the shape of conversation hearts. I thought these would be nice to give away for Valentine’s Day.
For this project I used:

Clear glycerin Melt and Pour Soap (from any craft supply store)
Felt in multiple colors
Acrylic Paint in pink and white
Small thin paint brushes
Rose liquid fragrance for soap (or any scent that you like)
Vera had to get in on the action

I started by cutting out a heart template using a large heart cookie cutter as well as a tiny one too. Cut out as many hearts as your heart desires... Use a good sharp set of scissors for this.


Now using the acrylic paint and a small brush, paint conversation heart sayings on your hearts. I left a few blank but go ahead and paint them all if you want too. The acrylic paint needs to dry completely before you go to the next step. Acrylic is only water soluble when it is wet. After the paint dries, you don't have to worry about it washing off on your hands.

Put some chunks of the glycerin soap in a microwave safe bowl. Lay out several sheets of aluminum foil or wax paper for a drying area, and have ready your scent drops and a spoon for stirring. Microwave the soap on high in your microwave for 30 seconds at a time, stirring in between each session, until most of the soap has turned to liquid. The heat from the bowl will melt any small pieces left as you stir it.
Once it is melted, add a few drops of scent. I used Rose scent because I thought it would be the most appropriate for Valentines Day, but any scent or no scent is fine.


Now place a heart in the bowl, allowing it to soak up the liquid soap and lift it out with a spoon. Drain for a moment and then place it on your aluminum foil to dry.
I found that one dip in the soap gives it a slightly textured look to the top due to the texture of the felt. If you want them totally smooth, then redip after they have dried. The second layer will be smooth. Keep in mind that if you decide to do this, they will be multiple-use soaps because there will be plenty there for several hand washings. Not necessarily a bad thing.


They take about 5-10 minutes to totally dry. Then peel them off the foil and use a set of scissors to trim any excess off the edges. These little soaps can be stored in your purse in a zip lock bag and used as you need them. Once the soap is used up, the felt inside can be used as a little heart-shaped wash cloth and then thrown away. And they look very cute in the bathroom.
I plan on putting different colored ones in cellophane bags and presenting them to my friends and relatives on Valentines Day. Shhh...don't tell!


I hope you enjoyed this little Valentine Craft.  This craft is one of my favorites.
   Have a Lovely Week!


Wednesday, December 14, 2011

Away in the Manger

With all the Santas, reindeer, and snowmen out there it can sometimes be hard to decorate for Christmas with Christ in mind, so I made this last project with “The Reason for the Season” to remind us why we really celebrate Christmas! This is a perfect project to do with your child or grandchildren or a Sunday school project.

I started by digging out some material, from my bag o' felt scraps. I drew a little sketch of what I wanted the design to look like...can you tell I'm not an artist!?! I cut all the shapes for the Nativity scene out of felt. I wish I had a full piece of red felt for the background, but I didn’t, so I used green (keeping with the Christmas colors).   I laid the design out on the on the large piece of felt to make sure everything looked good, then I picked it up piece by piece and attached them with glue. You could always sew or glue down the top to make it look like a garden type flag.  I just reused a ribbon in order to hang it.   This was super easy and it reminds us of the birth of baby Jesus. 


A felt manger scene


Supplies (I didn't end up using the Holly)

Put felt pieces in place ....Daisy enjoyed watching  :-)


Tessa working on her manger

Tessa's turned out heavenly.


Saturday, December 10, 2011

Christmas Illumination

There is nothing like the illumination of candle light during the holiday.  These candle holders are made of recycled bean candles, but you can use any tin can. Old fashion coffee cans would work the best.   Make sure you soak them to get off all the glue.
They are fairly easy to make and they look beautiful when the lights are out, or during the evening. I lite one on my front porch at night and it looks so pretty.  You can use your imagination on where you can use these delightful candles.  Enjoy!

Here are the diections for these holiday candles


Supplies Needed

Tape a Christmas design in the can. Then make marker holes where you
going to drill holes in the can.


Spray painting the cans with color and sparkles

Let dry for a couple of hours

Now they are dry. Now Add some greens, lights and candles.


We made two Christmas Trees and a Gingerbread man.
So pretty.


Saturday, November 26, 2011

The Power of an Angel

Did you know that angels are messengers from god?  Most angels are pure and illuminate a bright light.
I have always felt that my house is shared with a few angels, I am sure of two but there may be a third.
At times you will see a small bolt of light bolt across the room and then either stop or twirl around,
I also feel a lightness in my bedroom and I know i feel the spirits of angels in there.  It's such a comforting feeling knowing they watch over me.
Here are a few facts about angels; most of us have three or four angel with us at all times. One of those angels happens to be your guardian angel. If you need their help, all you have to do is ask them. Angels are not human so they can't  read your mind.  You just have to ask for their support or help. So angels are my thing and I love them!  So, based on these feelings, my next craft was to make an angel. We made these precious angels during our last girls weekend at the Jersey Shore.  We had so much fun and the angels turned out unique.


Here is a peek of what they turn out to look like.


Supplies needed
Pick out a few large artificial poinsettias.
They must have a wire stem and wire in the leaves.
I use a large wooden spoon to wrist the stem around it.
This will create the base. Then start pulling the leaves up.


Next step is to take one leaf at a time and mold the leaf downward to create the angels body. Then second layer start to mold and then
bend it downward. Just like the pictures shows. It's kind of making a dress out of the leaf


Our baby Angel.
So Beautiful

You can cut off some of the beads from the center of the flower
and then glue them on the petals. Next, I used the green leaves from the stem
 and glued them in the back of the angels to make her wings. For the head I use a
wooden craft ball and glue it into the center of the angel to make her head

I need to add a bit more sparkle to the left wing.


So Pretty


The Angels together. 
 

They turned out so pretty. 
 I am going to use mine for the top of my Christmas Tree.

Friday, November 18, 2011

Horn a Plenty Centerpiece

Today my granddaughter spent the day with me, because she wasn't feeling well. We cuddled and read books and after awhile she perked up, so I thought we would make a "Horn a Plenty" for Thanksgiving,  (umm.... I was planning to make it this weekend anyway but it's much more fun to make it with her).  It would be perfect for your Thanksgiving centerpiece.   It's made out of Pillsbury Crescent rolls, so it's also edible.  The fun part was I gave my granddaughter a piece of the dough and she made her own. She had so much fun rolling the dough into different shapes and then molding it around her own tin foil. She is so much fun.
Okay, so here is how I made it:
I used 2 packs of Pillsbury crescent rolls, I think it turned nice. After it cools down, you just add some fruits or nuts and Wha La, you have yourself a festive addition to your table.   Enjoy!
Final results


Supplies needed: 2  packs of Crescent rolls, tin foil, a piece of paper and Pam.

Fold the paper into a cone shape. Then shape the foil around the paper.
Mold the tin foil into a horn shape.  Then remove the paper. Spray the tin foil with Pam.
 Next, roll out the dough in a few rope like links and twist around the tin foil.


Bake at 375 for about 30 minutes
Once it cools down after baking, slowly remove the tin inside
the the horn shaped bread. My granddaughter made the small one. 
How adorable.

 
A Horn of Plenty

Happy Thanksgiving Everyone !


Sunday, November 6, 2011

Turkey Time !

Here's a cute and colorful Turkey craft.  I think it would make a cute addition to any Thanksgiving centerpiece. My sister and I had lots of fun making these together and it's a great way to recycle those old light bulbs. Warning.... because this craft uses a light bulb, it's not for young children to make.  I don't want any boo-boos.  Gobble, Gobble !

Here are all the supplies needed, light bulbs, craft paint, small straw hats,
feathers, felt &  small google eyes.
 
Paint the bulb with brown craft paint, then paint 2 wooden hearts orange.
Once paint is dry hot glue hearts to bulb. then glue eyes and a felt beak. 
Then hot glue a straw hat on his head.

Arrange some colorful feathers.

Sad sister, got some hot glue on her fingers..Yikes

Looking Good.....  :-)


Finally,
Two Strutting Gobblers.......Ha Ha !